All Categories
Featured
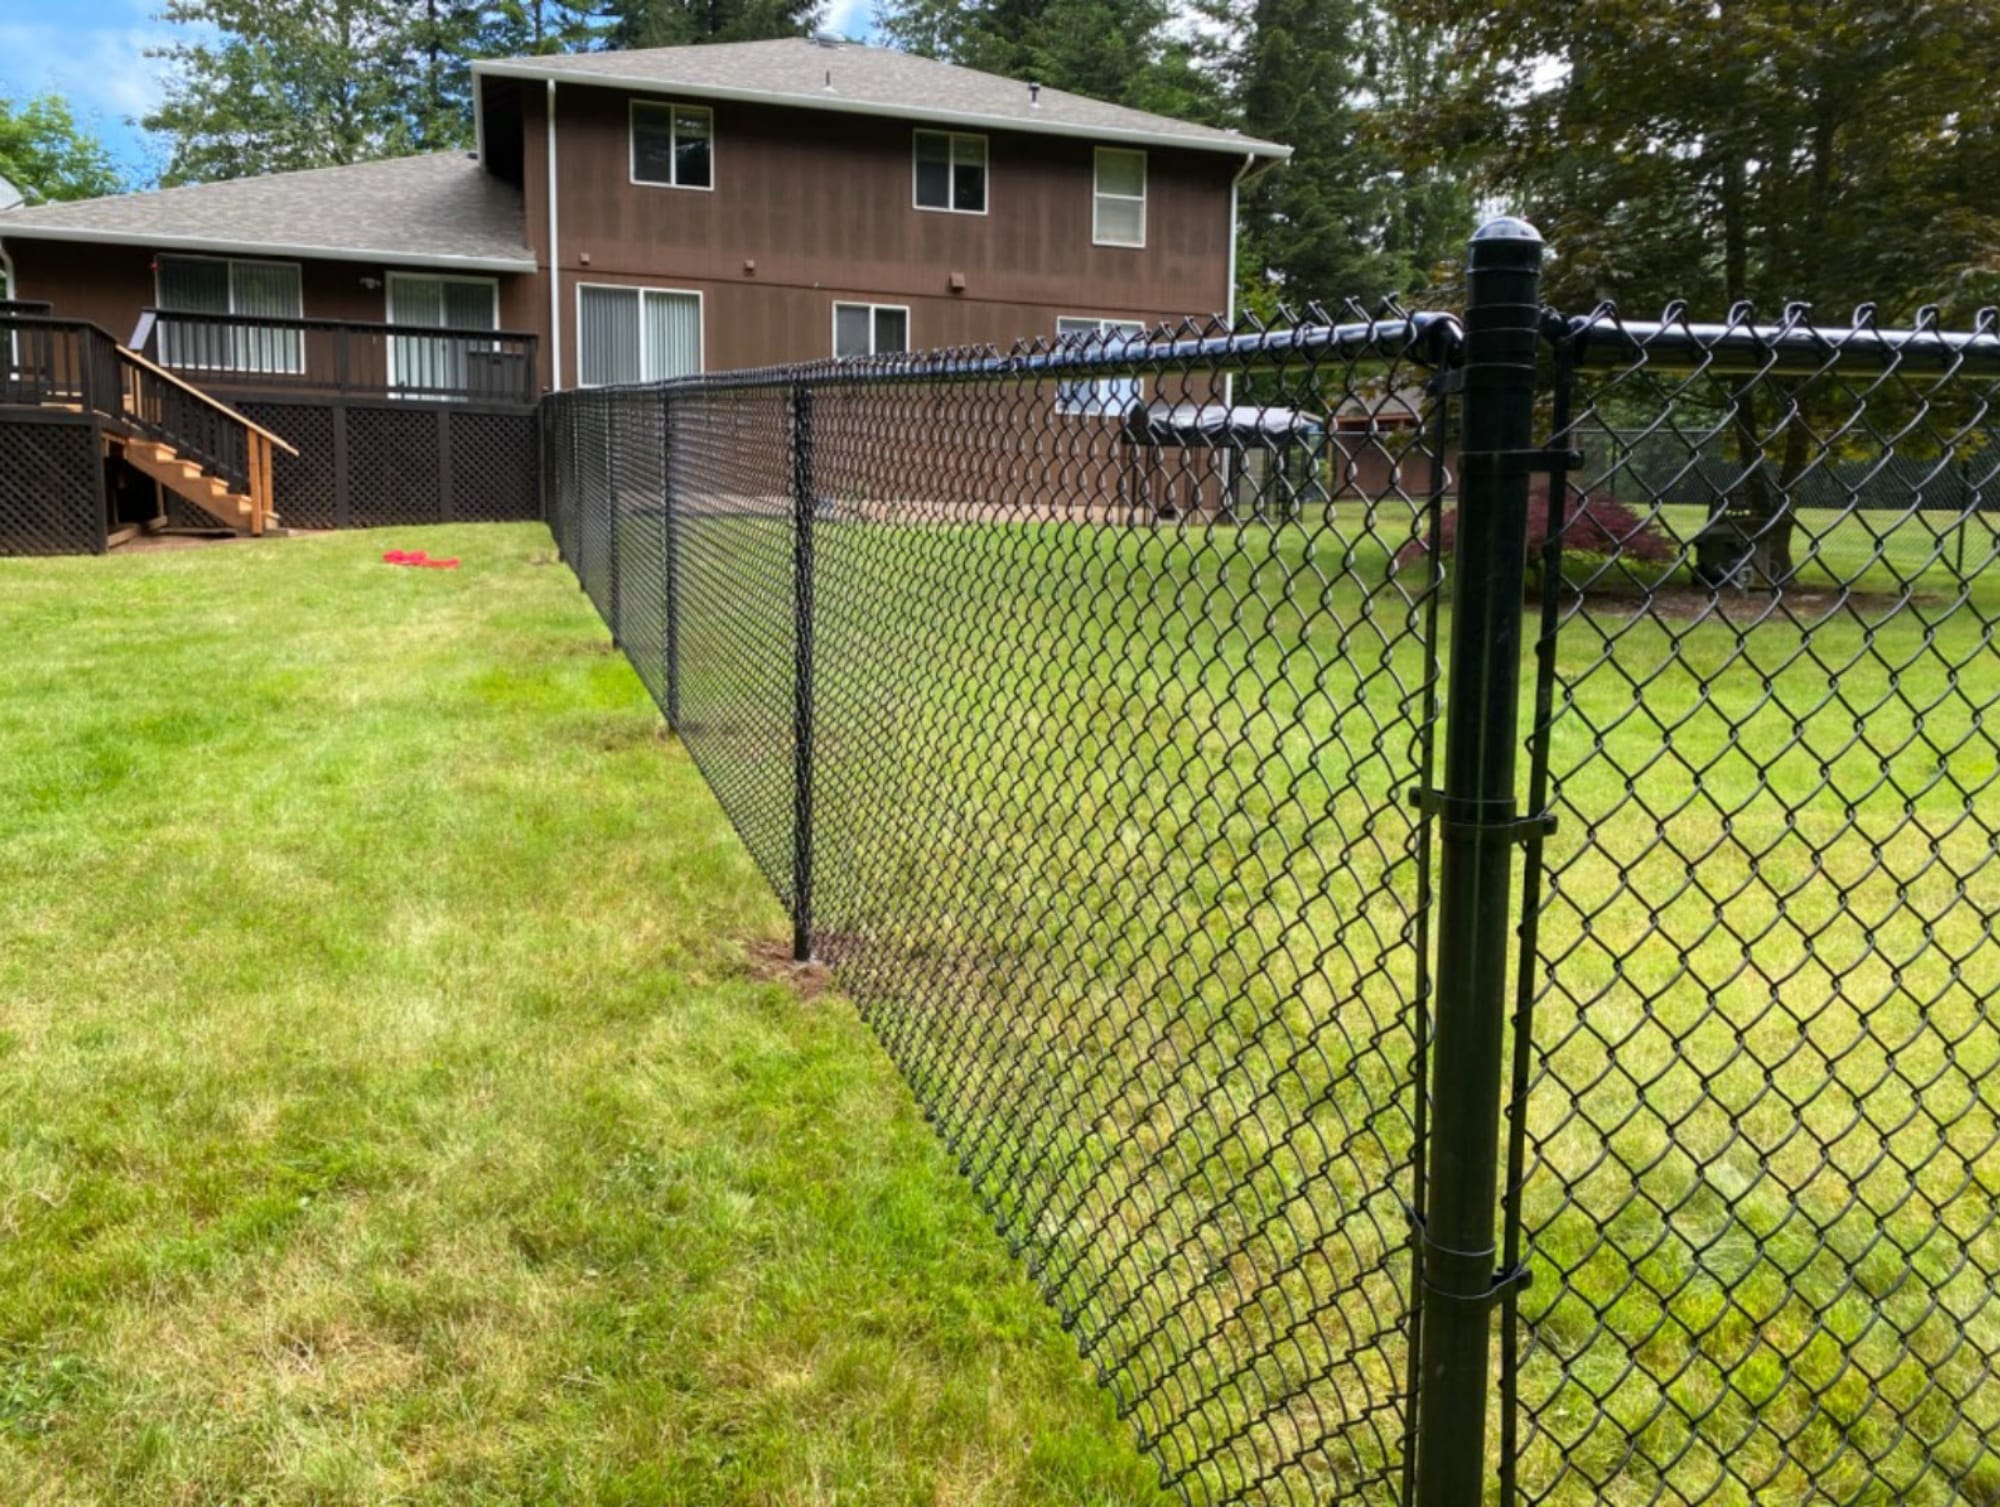
A leaning or damaged fence blog post can be both a security and an eye sore concern. Over time, climate conditions, soil changes, or even the natural aging of materials can trigger a fence article to lean or damage.
![]()
Shovel. Blog post opening miner (optional for much deeper openings) Degree. Concrete mix (quick-setting is ideal) Gravel (for water drainage, optional) Sledgehammer or article puller (for stubborn posts) A 2x4 brace (if strengthening the post) Security goggles and gloves. Having all these materials prepared will make the task easier and quicker.
Concrete: One of the most reliable means to protect an article is by putting concrete around the base. Mix quick-setting concrete according to the instructions on the bag, then pour it around the message, seeing to it the article continues to be straight and degree. You ought to load the hole with the concrete combination, leaving concerning 2-3 inches of area at the top for a last layer of dust. Allow the concrete collection for at the very least 24 hr to ensure the article is well taken care of.
Gravel: If you favor a much easier, a lot more adaptable alternative, you can utilize gravel around the post for much better water drainage and assistance. Load the opening with gravel, ensuring the blog post is straightened appropriately. Condense the crushed rock firmly to maintain the article in position. This method also helps protect against future water damage because the crushed rock will certainly enable wetness to drain pipes away from the message.
Step 1: Remove the old, broken blog post. If the article is set in concrete, use a message puller or sledgehammer to loosen the concrete and remove the post. Step 2: Once the blog post is removed, dig a new hole if needed. The hole must have to do with 2-3 feet deep, relying on the dimension of your new blog post and the sort of soil you're functioning with. Step 3: Insert the brand-new post into the opening, guaranteeing that it is level and aligned with the remainder of the fencing messages. Step 4: Fill the opening with concrete or gravel as explained earlier, guaranteeing that the new blog post is safely secured. 7. Add Support Braces (Optional) You can include a support to give additional assistance if you're worried about the future stability of the article. Affix a 2x4 or similar item of wood to the message at a diagonal angle, securing the various other end to a neighboring fence message or the ground. This will certainly avoid any future leaning and provide the message much more architectural stability while the concrete remedies or gravel settles.
![]()
Conclusion. Taking care of a leaning or damaged fence post does not have to be a complicated job. By adhering to these straightforward actions-- assessing the damage, excavating around the message, and enhancing it with concrete or gravel-- you can restore your fence blog post to its upright placement. Replacing it with a new one is the best service if the message is past repair. With normal upkeep and routine checks, you can ensure your fencing stays protected and tough for several years to come.
- Evaluate the Damages. If your fencing message is leaning, it could just require to be realigned and enhanced. If the post is decayed, split, or damaged, it might need changing.
- Gather Necessary Equipment and Products. To repair the article, you'll need a few basic tools and materials:

Shovel. Blog post opening miner (optional for much deeper openings) Degree. Concrete mix (quick-setting is ideal) Gravel (for water drainage, optional) Sledgehammer or article puller (for stubborn posts) A 2x4 brace (if strengthening the post) Security goggles and gloves. Having all these materials prepared will make the task easier and quicker.
- Dig Around the Base of the Blog post. To repair the leaning post, you'll require to reveal the base of the post. Begin by excavating around it utilizing a shovel. Produce a hole that goes to least 12 inches vast and 18-24 inches deep. The goal is to loosen the dirt bordering the article so you can rearrange or safeguard it properly. You might need to dig much deeper or utilize a message puller to eliminate it. if the post is deeply embedded in concrete.
- Straighten out the Article. When the base of the article is exposed, it's time to align it. Use a degree to guarantee the blog post is upright, adjusting it as needed.
- Strengthen the Message. Once the post remains in the right setting, you'll require to reinforce it to stop it from leaning once more. You can do this in a couple of methods:
Concrete: One of the most reliable means to protect an article is by putting concrete around the base. Mix quick-setting concrete according to the instructions on the bag, then pour it around the message, seeing to it the article continues to be straight and degree. You ought to load the hole with the concrete combination, leaving concerning 2-3 inches of area at the top for a last layer of dust. Allow the concrete collection for at the very least 24 hr to ensure the article is well taken care of.
Gravel: If you favor a much easier, a lot more adaptable alternative, you can utilize gravel around the post for much better water drainage and assistance. Load the opening with gravel, ensuring the blog post is straightened appropriately. Condense the crushed rock firmly to maintain the article in position. This method also helps protect against future water damage because the crushed rock will certainly enable wetness to drain pipes away from the message.
- Change a Damaged Blog Post (If Needed) Fixing it might not be possible if the message is badly decomposed or damaged. In this case, replacing the message is your best alternative. Right here's just how to change a damaged fence article:
Step 1: Remove the old, broken blog post. If the article is set in concrete, use a message puller or sledgehammer to loosen the concrete and remove the post. Step 2: Once the blog post is removed, dig a new hole if needed. The hole must have to do with 2-3 feet deep, relying on the dimension of your new blog post and the sort of soil you're functioning with. Step 3: Insert the brand-new post into the opening, guaranteeing that it is level and aligned with the remainder of the fencing messages. Step 4: Fill the opening with concrete or gravel as explained earlier, guaranteeing that the new blog post is safely secured. 7. Add Support Braces (Optional) You can include a support to give additional assistance if you're worried about the future stability of the article. Affix a 2x4 or similar item of wood to the message at a diagonal angle, securing the various other end to a neighboring fence message or the ground. This will certainly avoid any future leaning and provide the message much more architectural stability while the concrete remedies or gravel settles.
- Look For Future Stability. When the message is fixed or replaced, inspect it regularly to guarantee that it stays safe and upright. Inspect the surrounding dirt for disintegration or changing, and deal with any issues promptly to avoid additional damages.
Conclusion. Taking care of a leaning or damaged fence post does not have to be a complicated job. By adhering to these straightforward actions-- assessing the damage, excavating around the message, and enhancing it with concrete or gravel-- you can restore your fence blog post to its upright placement. Replacing it with a new one is the best service if the message is past repair. With normal upkeep and routine checks, you can ensure your fencing stays protected and tough for several years to come.
Latest Posts
A Retro Eating Experience at Gasoline Allie's.
Published Apr 20, 25
2 min read
Full-Service Auto Maintenance at Montclare Auto Repair - Check It Out
Published Apr 19, 25
2 min read
Attain Your Monetary Desires with WyHy's Wide range Administration Provider
Published Apr 19, 25
1 min read
More
Latest Posts
A Retro Eating Experience at Gasoline Allie's.
Published Apr 20, 25
2 min read
Full-Service Auto Maintenance at Montclare Auto Repair - Check It Out
Published Apr 19, 25
2 min read
Attain Your Monetary Desires with WyHy's Wide range Administration Provider
Published Apr 19, 25
1 min read